Notice
Recent Posts
Recent Comments
Link
| 일 | 월 | 화 | 수 | 목 | 금 | 토 |
|---|---|---|---|---|---|---|
| 1 | 2 | 3 | ||||
| 4 | 5 | 6 | 7 | 8 | 9 | 10 |
| 11 | 12 | 13 | 14 | 15 | 16 | 17 |
| 18 | 19 | 20 | 21 | 22 | 23 | 24 |
| 25 | 26 | 27 | 28 | 29 | 30 | 31 |
Tags
- 스프링 부트
- 스프링 시큐리티
- SQL
- 정보처리기사
- 분할정복
- 레디스
- Spring Boot
- NoSQL
- 자바의 정석
- Redis
- 정처기
- VMware
- 깃허브
- spring security
- 게시판
- 가상 면접 사례로 배우는 대규모 시스템 설계 기초
- sqld
- github
- 다이나믹프로그래밍
- 이벤트루프
- document database
- 스프링부트
- 동적계획법
- JPA
- 실행 컨텍스트
- MongoDB
- 캐시
- 영속성 컨텍스트
- 호이스팅
- in-memory
Archives
- Today
- Total
FreeHand
Event 본문
인라인 이벤트 모델
<html>
<head>
</head>
<body>
    <button onclick="alert('이벤트 실행')">버튼</button>
</body>
</html>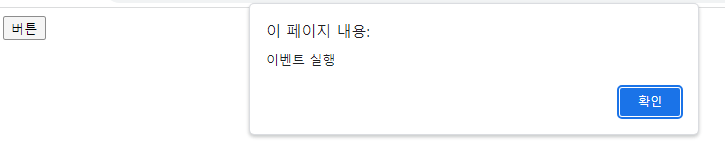
HTML 태그 안에서 이벤트를 연결한다.
좀 더 깔끔한 코드를 위해서 script 태그에 함수를 만들고 함수를 호출해서 이벤트를 실행한다.
<html>
<head>
    <script>
        function buttonClick() {
            alert('이벤트 실행');
        }
    </script>
</head>
<body>
    <button onclick="buttonClick()">버튼</button>
</body>
</html>
고전 이벤트 모델
<html>
<head>
    <script>
        window.onload = function() {
            const button = document.getElementById('button');

            button.onclick = function() {
                alert('이벤트 실행');
            }

            button.onclick = function() {
                alert('이벤트 실행2');
            }
        }
    </script>
</head>
<body>
    <button id="button">버튼</button>
</body>
</html>
첫번째 이벤트는 실행되지 않고 마지막 이벤트만 실행된다.
표준 이벤트 모델
<html>
<head>
    <script>
        window.onload = function(event) {
            alert('이벤트 실행');
        }
    </script>
</head>
<body>

</body>
</html>
이벤트 객체를 사용하여 이벤트 실행
이벤트 리스너(핸들러) 사용
<html>
<head>
    <script>
        window.onload = function() {
            const button = document.getElementById('button');

            button.addEventListener('click', () => {
                alert('이벤트 실행');
            })

            button.addEventListener('click', () => {
                alert('이벤트 실행2');
            })
        }
    </script>
</head>
<body>
    <button id="button">버튼</button>
</body>
</html>
이벤트가 차례대로 모두 실행된다.
'Language > Javascript' 카테고리의 다른 글
| [Javascript] 이벤트 루프와 비동기 처리 (0) | 2024.09.27 |
|---|---|
| [Javascript] 실행 컨텍스트 (2) | 2024.09.25 |
| Javascript DOM (0) | 2023.10.26 |
| 객체 (0) | 2023.10.23 |
'Language/Javascript' Related Articles
more


